Sunday, June 9, 2013

Special Order

Okay, okay.  It's not exactly a special order.  My bestie had a request for her birthday ...  "this fabric ... with that bag top ... but in black denim ... straps that are long enough, but not too long ..."  Well, you get the idea.  LOL  But it was her birthday gift so that makes is special!

So THIS bag was born:


I love this obnoxious fabric.  It's got every color of the rainbow.  Which means, it goes with everything in your closet!  Ha!  So of course, I had to use a rainbow thread!  All the seams, all the stitching, all the free-motion embroidery - rainbow!


Ain't she a beaut'?  Nice fuchsia lining.  A little more rainbow fabric tucked into the handle straps.  And of course, the free-motion embroidery on the black twill.  This was my second attempt.  Not too bad.  Need practice.  But for the look I was going for - scribble-y and angular - not too bad.


I gave it a tab closure, complete with magnetic snap.


The tab is black twill on the outside and rainbow fabric on the inside.  I made a twill "base" for the other side of the snap, to give it some heft and to keep it from pulling too hard on the lining.


As you see, below, I've given the bag a nice, hanging interior pocket.  Again, I didn't want the pocket to pull hard on the lining fabric.  So I dropped it between the interior "upper band" and the bag lining.  That way, when stitching the lining and the exterior together along the bottom of the "upper band", it gets a little more support.


The exterior and interior both have a pleat on each side to give a little more "growing" room to the bag.  With the bottom corner gussets, this is a pretty roomy bag!


Pretty bitchin' bag, no?

Saturday, June 8, 2013

Happy Crafty Hour

Last week, I organized a "Happy Crafty Hour" at the Community Crafts Studio.

What the heck is a "Happy Crafty Hour" you ask? 
Well, it's like a regular Happy Hour ... with a craft!


(This one is mine.)

I prepared a large batch of my turkey chili (the tame version) and a small batch of the wild!  It was BYOB and a donation to cover the craft supplies.  Hey, we'd need the "B" to get loose enough to have some fun and do some marble painting!

That's right!  Marble Painting! 
Like you probably did in Kindergarten.
Don't laugh.  It's fun!
And produces some very gallery worthy art!


(This one is Chris'.)

I had done some test art at home, trying out how best to teach this.  I don't have any pics of those.  Too bad, but I took one to work with me to adorn my new desk.  Anyway, this works best with slightly watered down acrylic paint.  It lets the marbles roll around better.


We used box lids to contain the marbles and to do our painting in.  Just taped down the paper (so the marbles don't roll under the paper), used little cups for mixing and pouring paint, then ...  voila!  Marble Paintings!


They all turned out so different!

Some were minimal...


Some were maximal ...


Some even branched out and used moustache-shaped resists!
(The resists came in the form of cardboard moustaches that slide over your straw.  Like I said, it was BYOB and boy did we B!)


I wish I had remembered to bring my "good" camera as some of these shots from my camera phone just don't do the pics justice.  But it was a lot of fun and was E-A-S-Y!!!


Did I mention that I'm sadistic and I made them practice their color theory for mixing?  Yep.  I only brought red-yellow-blue-black-white paints.  [insert evil laugh here]

But a fun night was had by all!

... even if the threat of tornadoes made us call it an earlier night than planned.  Severe storms hit the area, but all were safe. Except me.  My cat Erebos had a freak out while trying to put him in the pet carrier so we could head to the basement for safety.  He cut my foot good.  I had to bleed in the basement for awhile ... then he promptly crawled willingly into the OTHER carrier for a nap once we were back upstairs.  The little jerk ...

Anyway, I suggest you try having your OWN Happy Crafty Hour sometime!  Make it a potluck!  Have special cocktails!  Go big!  Go small!  Just have fun!


Thursday, May 30, 2013

B-B-B-Baby Bibs

These baby bibs rock. 


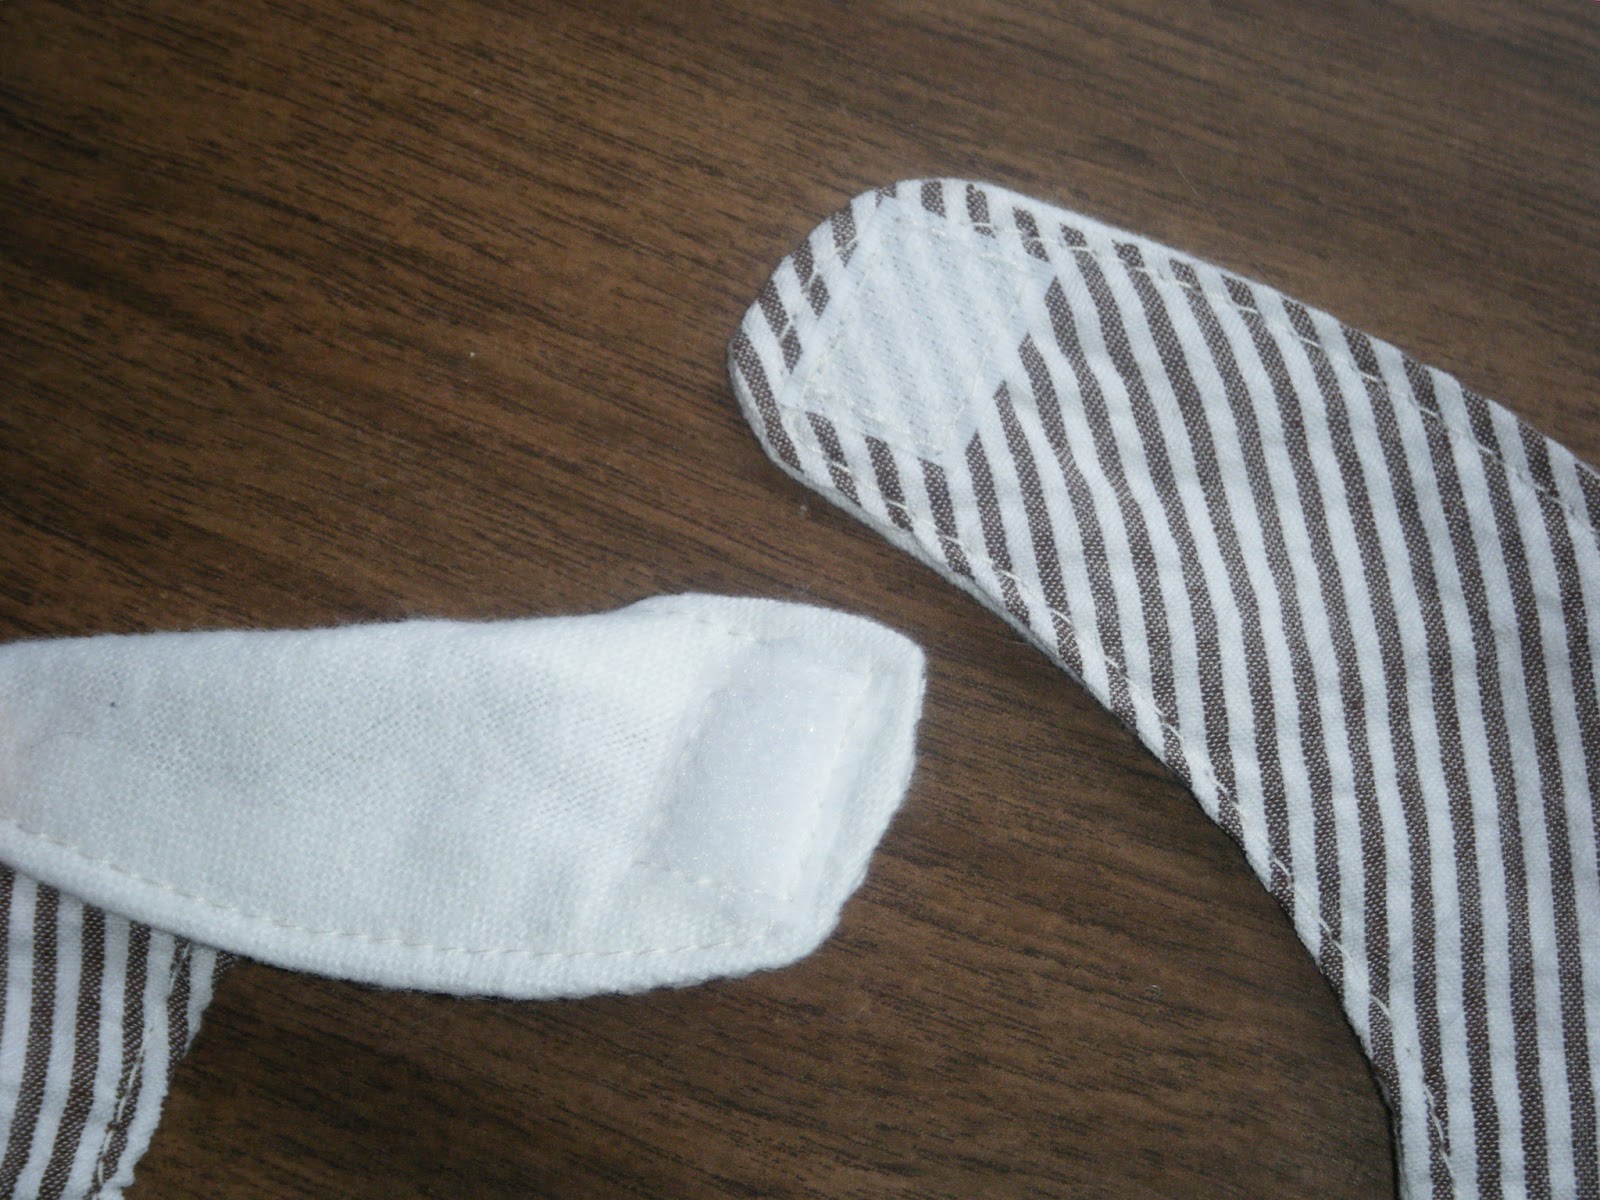
I had seen these "tie" bibs around the interwebs before, so I can't take full credit for them.  However, I did decide they'd look great on men's shirting fabric.  Which I couldn't find.  And I didn't have time to go thrifting either.  BUT I did find a few nice seersucker fabrics that worked just fine.

Here's a few close ups.


They are all cotton with a white cotton flannel backing.  Gotta be easy wash since babies just spit up all over them and drop food on them. 

I made my own freezer paper stencils.  I only had to make two as the wax held up for more than one use.  I also wanted a nice wide, fat tie.  Several samples I saw on line were too thin for my liking.  I kinda also wanted to make bow ties, but stuck with just the regular tie.  And I think they're FUN!!!

I used a small piece of velcro on each to secure behind the neck.  I made sure the softer, fuzzy side was on the top piece so if it overlapped, it would be softer on the neck than the stiffer, pokey side of the velcro.


And I top-stitched the ties in place, through all the layers to keep them from shifting around.


  These four bibs were made for my fella's soon-to-be nephew.  Name TBD.  :)

Wednesday, April 10, 2013

Burping Babies

Let's face it.
Babies burp.
A lot.


So what better thing to have handy for new parents but lots and lots of burp cloths!  These are for a co-worker who just welcomed a new baby girl, Isabella.  And of course, a new baby girl needs girly burp cloths, yes?


I took my inspiration from Purl Soho's blog, The Purl Bee.  I really liked the Oxford Burp Cloths made from soft cotton flannel and Oxford shirting.  I just didn't have any shirting fabric handy and couldn't find any that didn't have a "manly" feel to it, so ...


... I picked out some girly, pink fat-quarters.
And pink thread.


Aren't they pretty?
AND functional!
Plus, these work up pretty quickly. 
A tip?  Fold the yard of flannel so it's four layers thick and stack the fat-quarters on top.  Use a rotary cutter and "square" them all at once.  Since the flannel is "shifty", this will ensure that everything is the same size.  Next time, I'll use a bigger round object for my corners.  I wish the curve was a little more ... curvy.


I also think my photography is getting better.
I'm paying more attention to light and backgrounds and stuff.
Ooo...